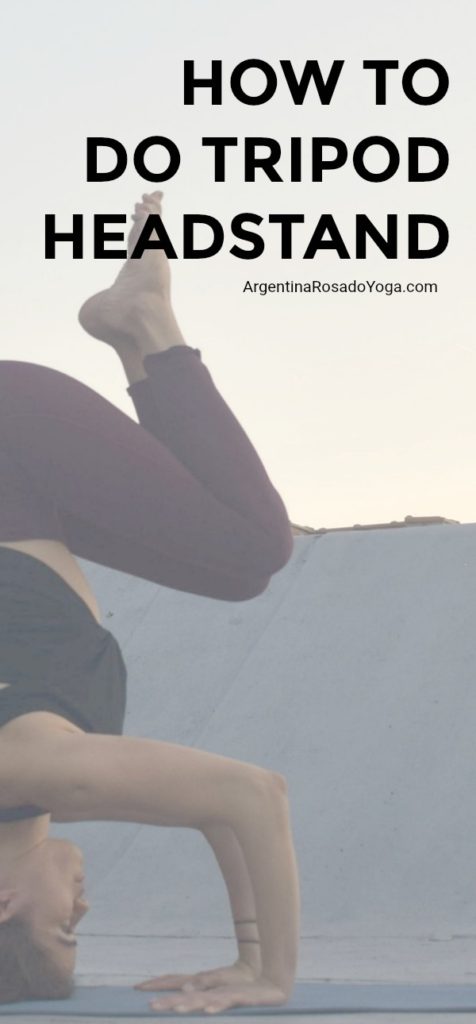
Tripod headstand is perhaps the least complex of all active yoga inversions. It is the one most yoga practitioners learn first. The tripod shaped created by the crown of the head and bent arms is slightly more supporting than the more traditional unsupported headstand (Sirsasana).
It’s important to understand that learning inversions is a process that shouldn’t be rushed or disturbed. Instead, do the necessary work and move through stages. Here, I am describing the four stages of learning Tripod Headstand. Try to practice one stage at a time, and only move forward when you get comfortable.
Like I mentioned in “how to overcome the fear of yoga inversions,” there are a few things to keep in mind, if you’re just starting out with these poses. Feel free to read that post first, or the short version here:
- Every pose is a learning process. And, like any other process, there are failures and lessons to be learned. You may experience and few falls here and there but it’s important to know that it’s part of the process. “Success and failure go hand in hand.”
- Prepare the body properly. Warm-up with a few sun salutations, build some core and shoulder strength (link), and work on your hamstring flexibility.
- Keep your head comfortable with a quality, thick yoga mat, or folded blanket or towel to place under your head.
- Practice at the wall first. Learn the necessary alignment here, set up your foundation, and work on building the strength and flexibility necessary to hold the pose for at least five breaths.
- Feel the fear, and do it anyway. Once you’ve gotten comfortable practicing at the wall, get uncomfortable and away from the wall. This is a great way to learn how to fall, build confidence, and nail the pose. You got this.
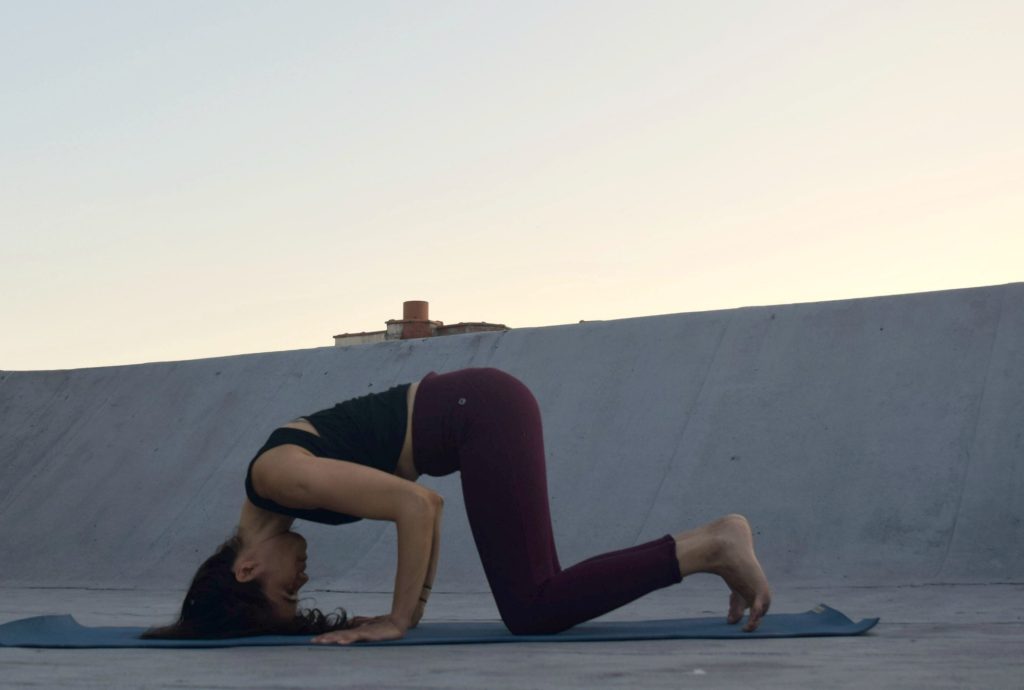
1. The Foundation – Tripod Shape
Start in tabletop position (hips over knees, shoulders over the wrists).
Position the crown of your head in between your hands. (your elbows will bend).
Slide the hands back a few inches until your arms form a ninety degree angle.
Spread the fingers and actively root down through the inner hands (index finger and thumb).
Tuck the toes under and lift your hips up and back (Tripod downdog).
Lift the heels very high and start to walk the feet in towards the chest

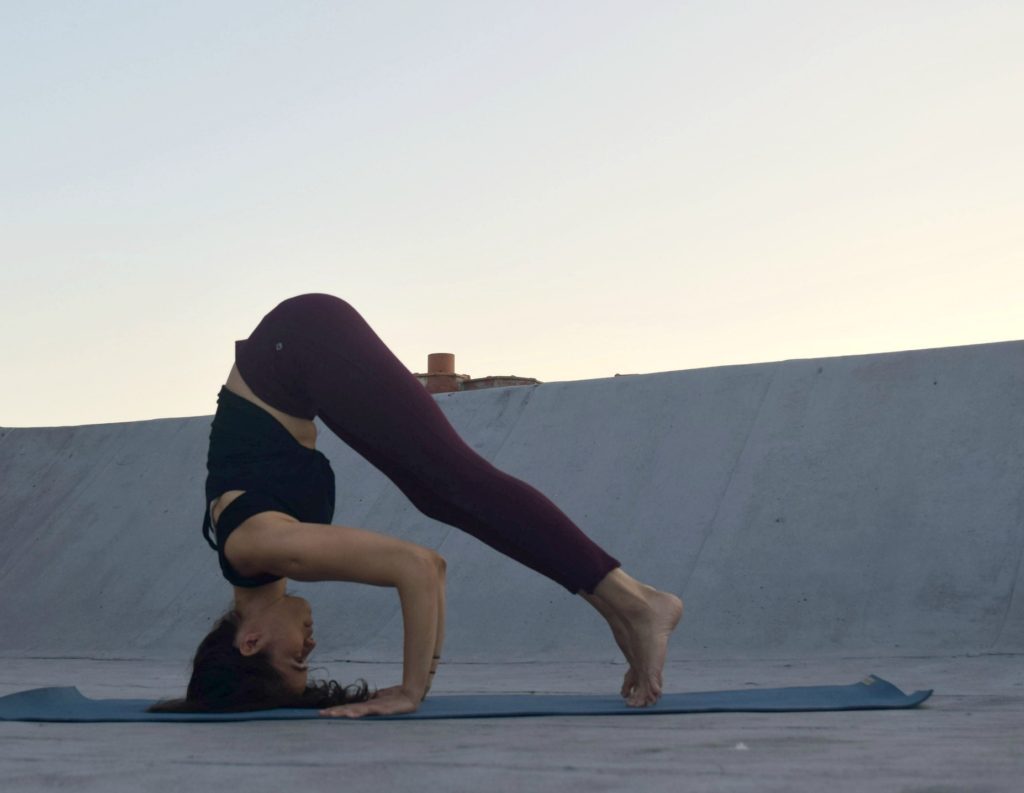
Stop here and check your foundation before you attempt to lift your feet off the ground. Check that:
Your fingers are spread out and the palms are pressing firmly into the ground.
The elbows aren’t too wide or too narrow. They should be about shoulders’ distance.
The arms form a perfect ninety degree angle. The elbows should be over the wrists and in line with the shoulders.
Actions to keep in mind…
Press away from the ground with your hands and draw the shoulders away from the ears.
Energetically hug the elbows in towards each other. (imagine squeezing a rubber ball with your elbows).
Keep reaching the heels very high and engage your lower abdomen.
Hold this position for 5-10 breaths.
Lower the knees back down and rest in Child’s pose.
Repeat as needed until your body learns how to properly execute these actions.
2. The Egg Shape (Part 1)
Once you’ve learned how to setup your tripod, it’s time to work on lifting your feet off the ground and into the egg shape. The are two types of egg shapes, one with the knees on the triceps, and one with the knees off the triceps.
Start in your Tripod Downdog position, as described above.
Walk your feet in towards the chest as much as you can.
Bring your right knee to the right tricep, and your left knee to the left tricep.
Press the ground away with your hands and draw shoulders away from the ears. Keep hugging the elbows in.
Hollow in the belly.
Squeeze heels towards your butt (as in crow pose).
Hold for about 5 breaths.
Rest in Child’s Pose.
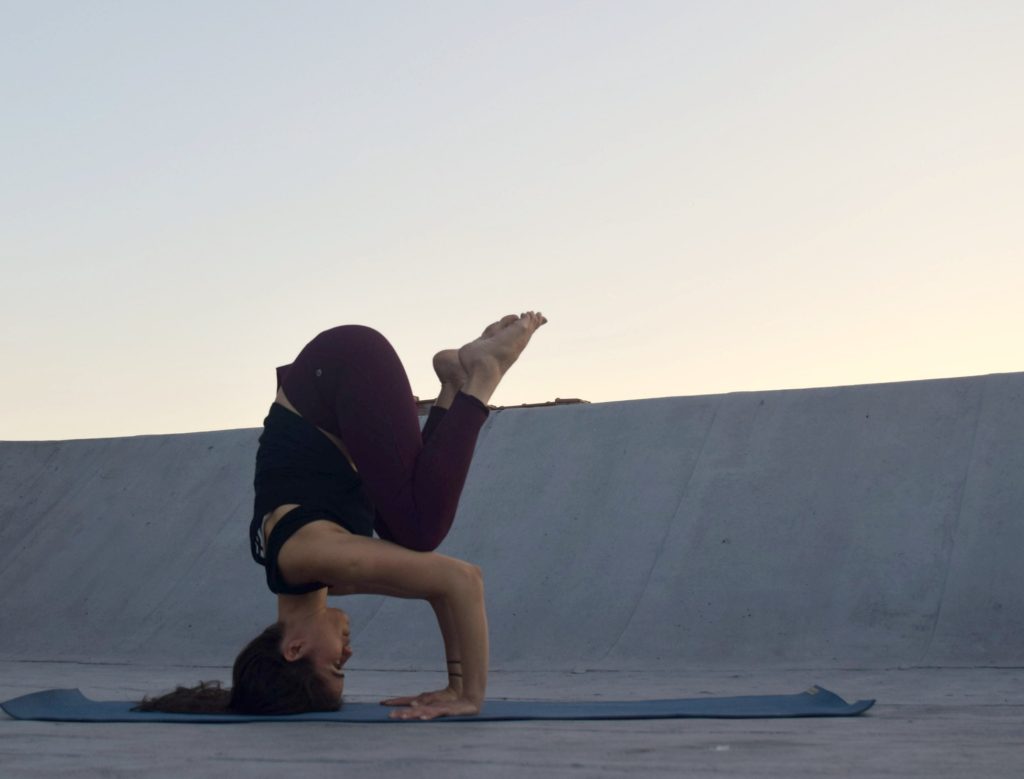
3. The Egg Shape (Part 2)
After you’ve gotten comfortable holding the position above for at least five breaths, it’s time to try egg shape #2, which is lifting the knees off from your triceps. To do this, start in egg shape #1 with your knees on the triceps.
Continue to press away from the ground, hug elbows in, and squeeze the heels towards the butt as much as you can. Hollow in the belly and start to lift the knees away from the triceps until the hips are stacked over the shoulders. Keep squeezing everything in as you hover the legs into this shape. Hold for five breaths, slowly lower the legs back down, and rest in Child’s pose.
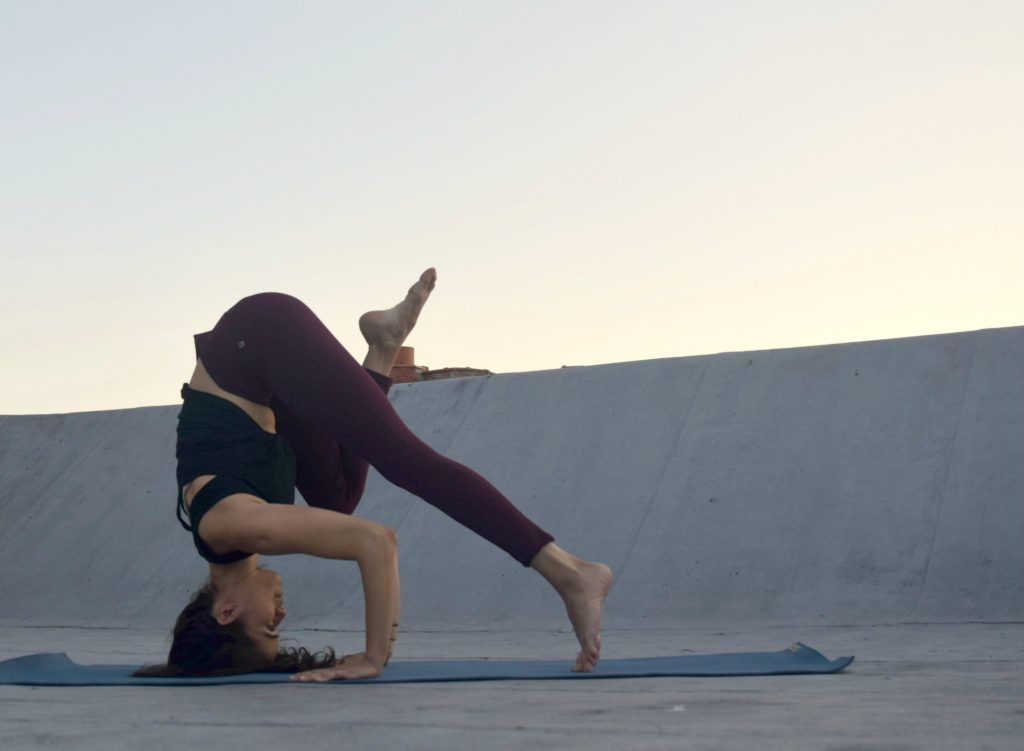
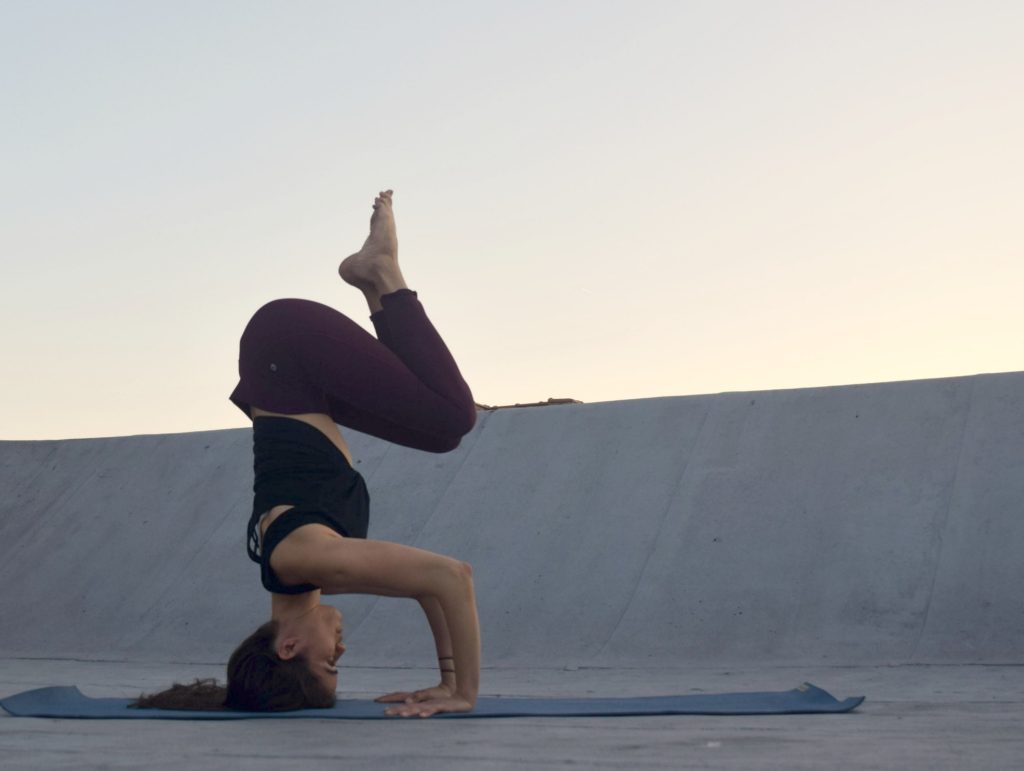
4. The Tripod Headstand
Once you’ve gotten comfortable with the poses above, it’s time to get uncomfortable and approach the full pose.
From your tripod shape #2, slowly, and I mean very slowly, start to straighten the legs towards the ceiling. As you do this, maintain the ribs sucked in, and the legs super firm.
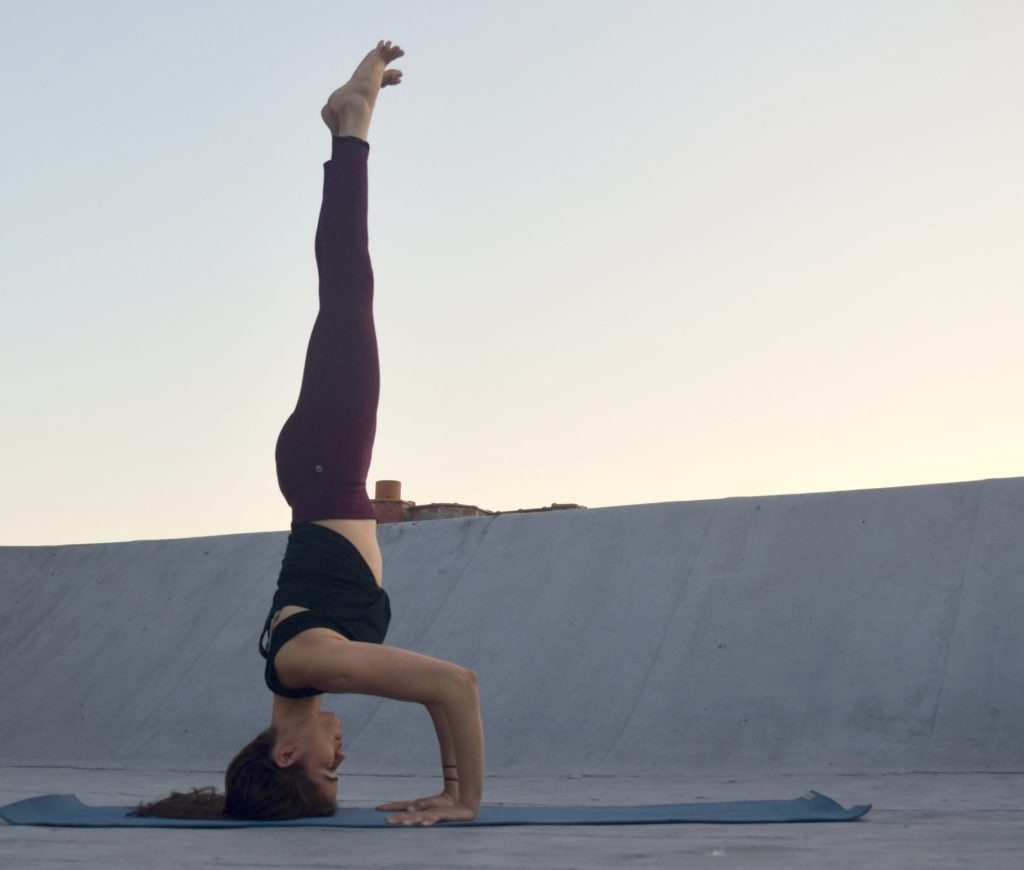
Once the legs are straight, keep working on the points already mentioned (hug elbows, push the ground away, shoulders away from the ears).
Keep the tailbone long towards the heels (avoid puffing out the booty).
Keep the legs very firm.
Keep the feet pointed or flexed, and actively reach up through your legs. Imagine wanting to touch the ceiling with your feet.
To come down, slowly, again, very slowly, start to bend your knees and lower the legs back down to the ground.
As always, rest in Child’s pose.
FREE Yoga Nidra for Anxiety
Click the button below to get your meditation right in your inbox.